
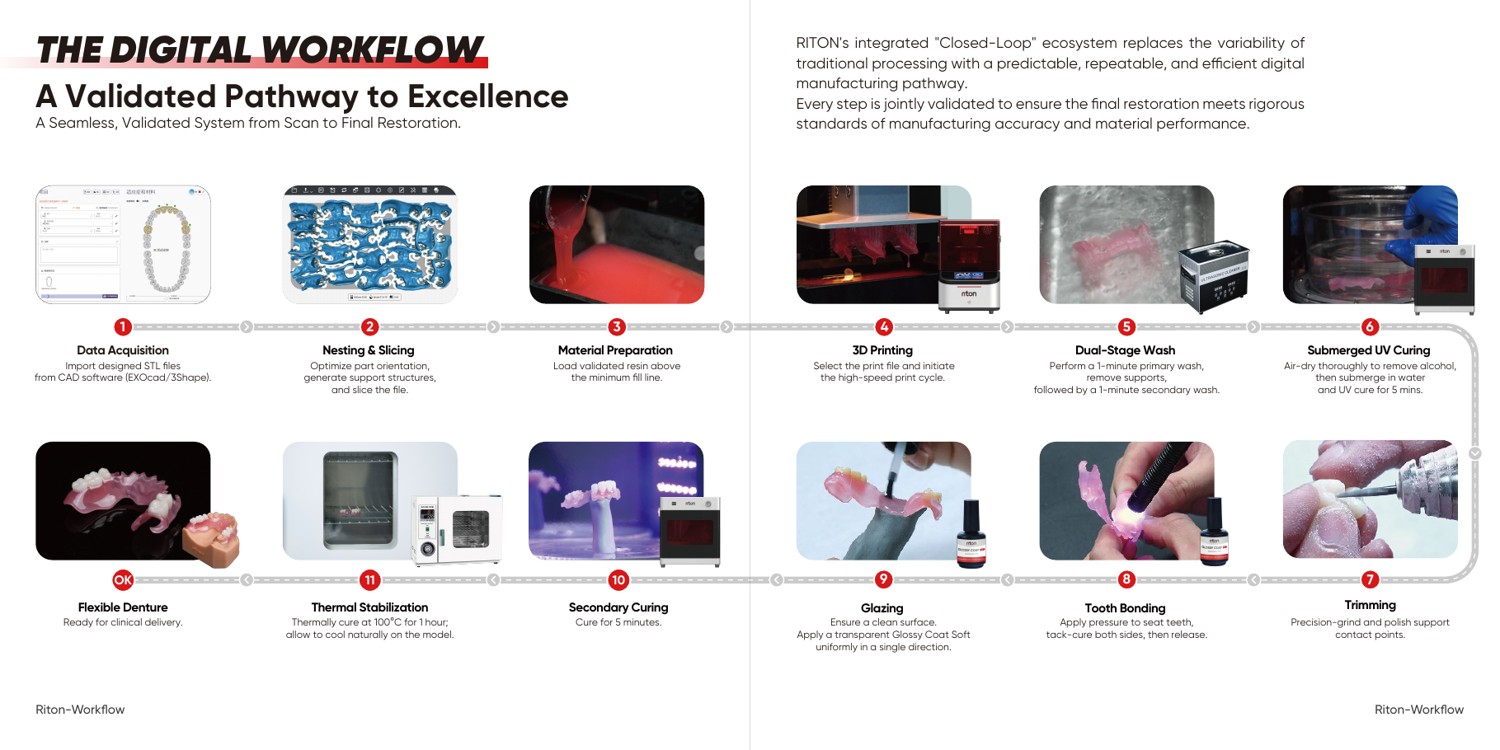
Dental 3D printing is often discussed as if choosing a resin completes the buying decision. For a lab technician, the dependable unit is a validated process: intended use, printer and settings, wash and cure steps, inspection, and documentation all have to align.
Confirm the exact intended use
“Dental resin” can mean a model, guide, splint, denture base, or another application. These uses are not interchangeable. Check the manufacturer’s labeling and the applicable regulatory status for the specific indication before using a material for a patient-contacting device. The U.S. FDA describes 3D printing as a process with multiple stages whose controls affect the final device.
Map the whole production chain
- Design file: version, orientation, supports, and required dimensions.
- Print: compatible hardware, profile, material lot, and maintenance state.
- Wash and cure: the exact method and equipment prescribed for that material.
- Inspection: fit, surface, completeness, and any indication-specific checks.
- Record: operator, date, lot, build, post-processing, and release decision.
A cheaper bottle is not cheaper if it creates failed builds, extra reprints, or unclear traceability. Compare cost per accepted device and technician time, not only cost per liter.
How DentBridge would evaluate a new material
We would start with a small production pilot on the lab’s actual equipment, review supplier instructions and documentation, record exceptions, then decide whether repeat orders make sense. Compatibility or clinical suitability should never be assumed from a broad product category.